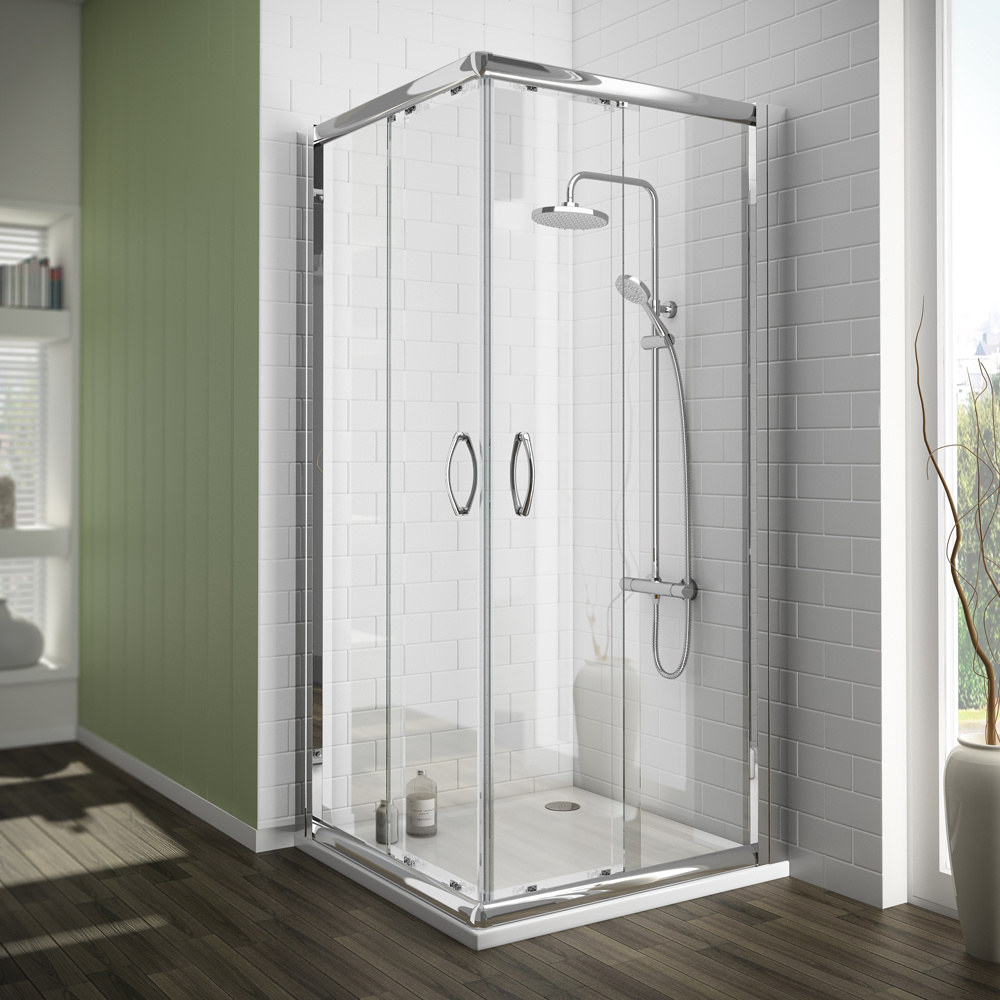
How to install a household shower room?

1. Preparation and installation of the bottom basin: The regular shower room manufacturer will send professionals to install it, and bring the tools with you, which is faster and more convenient. The bottom basin must be installed carefully, and water testing is an indispensable part. If the house is well installed, it will be more difficult to make major changes.
2. Preparation before installation: Check whether the product packaging is complete, and check whether the configuration is complete after opening. Prepare the necessary tools and put them together for easy access.
3. Install the bottom basin: assemble the bottom basin parts and adjust the level of the bottom basin to ensure that there is no water in the basin and the bottom of the basin. The hose can be expanded and contracted with the distance to connect the bottom of the basin and the floor drain firmly.
4. Test and protection: After installation, a water test is required to ensure that the water is unimpeded. Before the installation of the house, the installed bottom basin should be protected in time.
5. Room installation: Whether the shower room is safe or not has an important relationship with the proper installation of the room. Whether the location and drilling are accurate, whether the fittings are installed tightly and tightly, and whether the waterproof seal is done well, etc., all affect the normal use of the product. The strength and angle of installation are also difficult for ordinary people to grasp.
6. Find location and punch: clarify the pipe arrangement in the bathroom to prevent the hidden pipeline from exploding when punching. Use a pencil and a spirit level to determine the drilling position of the aluminum and stainless steel against the wall, and drill the hole with a percussion drill.
7. Install the wall: knock in rubber particles in the drilled hole, and lock the aluminum bar and stainless steel to the wall with screws. Note that it needs to be continuously adjusted while installing to maintain the verticality of the frame.
8. Fix the glass: clamp and lock the glass at the drilled hole in the bottom basin. The bottom of the flat glass or the curved glass will fall into the glass clamp groove, and then slowly push it into the wall frame. Then fix it with screws.
9. Install the jacking pipe: find the corresponding position on the top of the fixed glass to drill holes, install the (straight mouth/oblique mouth) fixing seat and connect the jacking pipe. Fix it to the top of the glass with an elbow sleeve.
10. Install the device rack: Install the device rack at the accurate position, tighten the layer nut, fix the layer glass, and keep it vertical and horizontal. Pay attention to waterproofing under the aluminum material that fixes the glass.
11. Install the movable door: install the hardware of the movable door, and install the hinge in the reserved hole of the fixed door. After installation, adjust the position of the shaft core of the lotus leaf until the closing feel is the best.
12. Do a good job of waterproofing: Install suction strips or water-retaining adhesive strips on the side or under the glass as required. Use silica gel to close the joints between the aluminum and the wall, the glass and the bottom basin.
13. Debugging and tightening: Check whether each part is comfortable and smooth to use. If any problems are found, they should be adjusted in time. Tighten the corresponding screws after adjustment to make the whole shower room stronger.
14. Finishing work: Clip the decorative aluminum strip into the wall aluminum material to ensure its neat and generous appearance. Finally, wipe the entire shower room with a rag.
